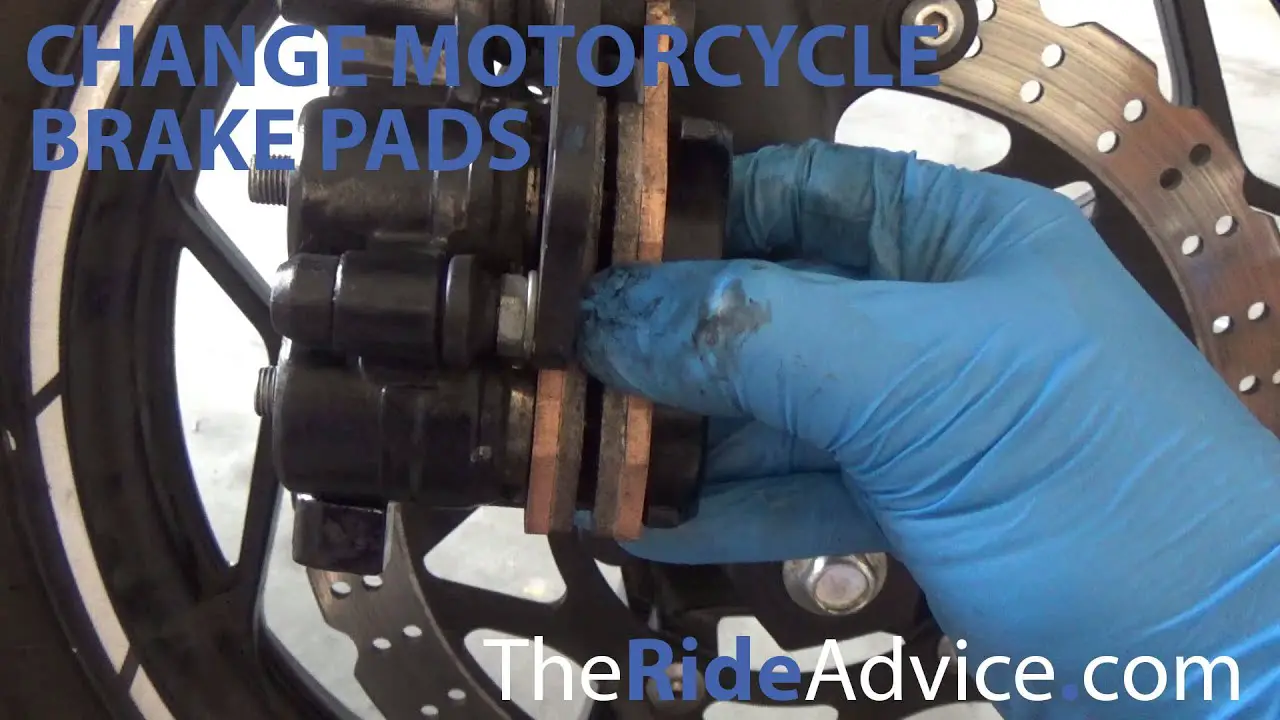
How to Change Motorcycle Brake Pads
To change motorcycle brake pads, remove the brake pads by unscrewing the bolts with an Allen key, clean the pins and apply copper grease, then insert the new pads and replace the clips or pins. Ensure the friction material faces the disc and check for proper clearance.
It is recommended to bleed the brakes after replacing the pads to ensure optimal performance. Changing brake pads should be done regularly to maintain safety on the road.
Overview Of Motorcycle Brake Pads Replacement
Overview of Motorcycle Brake Pads Replacement: Changing your motorcycle brake pads regularly is important for maintaining optimal braking performance and ensuring your safety on the road.
Importance of replacing brake pads regularly: Regular brake pad replacement is crucial to maintain efficient braking and prevent potential accidents. Brake pads wear out over time due to the friction and heat generated during braking, leading to reduced braking power and longer braking distances.
Signs that indicate the need for brake pad replacement: Pay attention to warning signs such as squeaking or grinding noises, reduced brake responsiveness, vibration or pulsation while braking, or brake pedal feeling spongy or soft. These signs indicate that your brake pads may be worn out and need replacement.
Safety precautions before starting the process: Before replacing your motorcycle brake pads, ensure that you have the necessary tools and protective gear. It’s important to work in a well-lit and well-ventilated area, and to take precautions such as disconnecting the battery, securing the motorcycle, and wearing gloves and eye protection.
Tools And Materials Needed
- List of required tools for brake pad replacement:
- Allan key
- Copper grease
- Sandpaper
- Brake pad spreader
- Types of brake pads available for motorcycles:
- Organic brake pads
- Semi-metallic brake pads
- Ceramic brake pads
- Importance of selecting the right brake pads:
Choosing the correct brake pads for your motorcycle is essential for optimal performance and safety. Organic pads provide smooth and quiet braking, but may wear out faster. Semi-metallic pads offer good stopping power and durability, but can be noisy. Ceramic pads are known for their longevity and low noise levels, making them a popular choice. Consider your riding style, bike model, and manufacturer recommendations when selecting brake pads.
Step-by-step Guide To Change Motorcycle Brake Pads
Discover the step-by-step guide to changing motorcycle brake pads, without the need for a mechanic. Learn how to replace, clean, and maintain your brake pads to ensure optimal safety while riding.
| Preparation: |
| Elevate the motorcycle using a suitable stand or lift to ensure easy access to the brake system. |
| Take necessary safety measures by wearing protective gear such as gloves and goggles. |
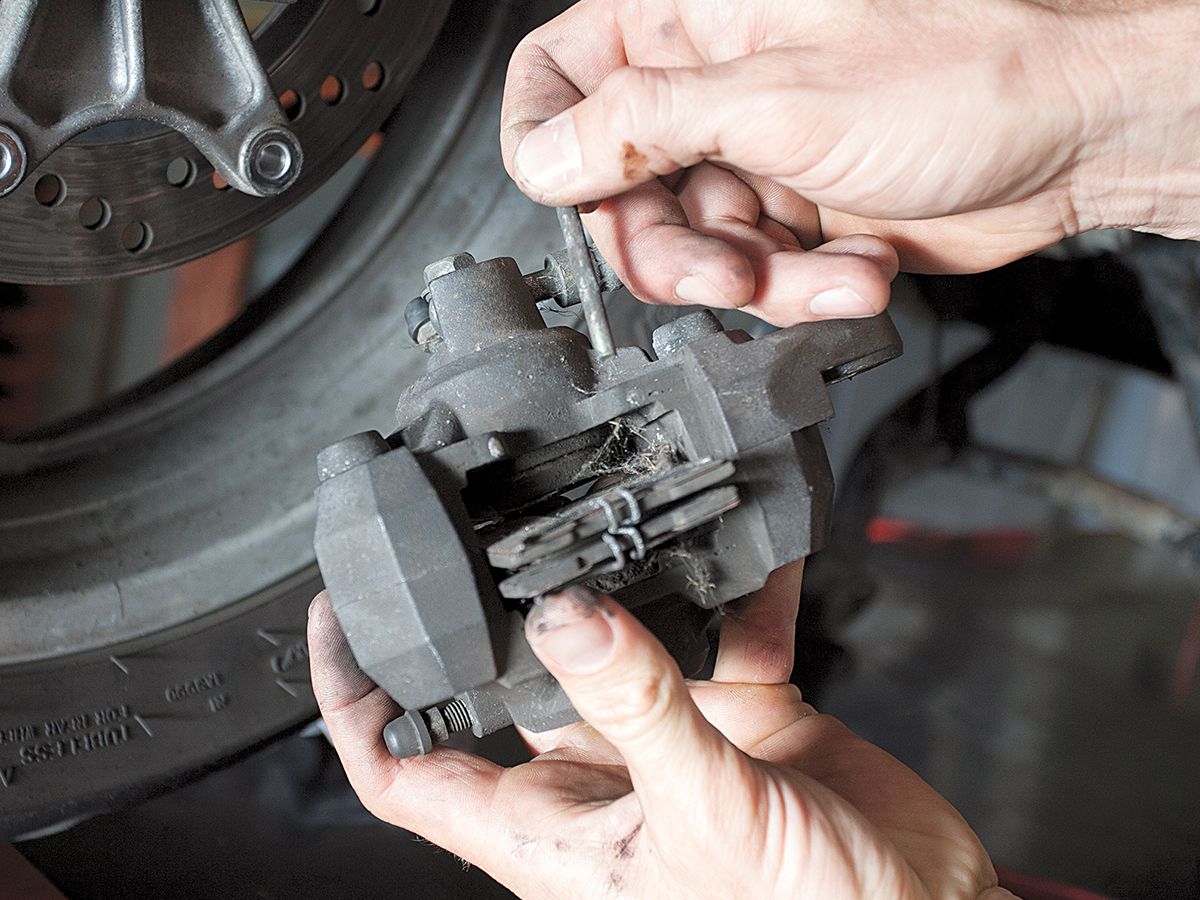
| Removing the old brake pads: |
| Step 1: Remove the brake caliper bolts using an Allen key to detach the caliper from the mounting bracket. |
| Step 2: Take out the old brake pads from the caliper, using caution not to damage the brake rotor. |
| Inspecting the brake rotor: |
| Check the brake rotor for any signs of wear or damage, such as deep grooves or warping. |
| If needed, use fine grade sandpaper to lightly sand down any grooves or rough edges on the rotor. |
| Installing the new brake pads: |
| Step 1: Place the new brake pads into the caliper, ensuring the friction material faces the brake rotor. |
| Step 2: Align the caliper with the mounting bracket and secure it in place by tightening the caliper bolts. |
| Testing the brakes: |
| Squeeze the brake lever multiple times to ensure proper functionality and responsiveness of the new brake pads. |
| Take a short test ride to confirm the brakes are working correctly before riding extensively. |
Common Mistakes To Avoid
When changing motorcycle brake pads, it is important to avoid certain common mistakes that can lead to potential damage and safety issues. One common mistake is misaligning the brake pads, which can cause uneven braking and decreased stopping power. To avoid this, make sure to carefully align the pads with the rotor and ensure they are centered properly. It is also crucial to avoid over-tightening the brake caliper, as this can lead to damage and premature wear. Refer to the manufacturer’s specifications for proper torque settings and use a torque wrench for accurate tightening. Additionally, don’t skip the inspection of the brake rotor. Checking its condition is important to ensure it is free from any deep grooves or excessive wear that could affect the performance of the brake system. By avoiding these mistakes and following proper procedures, you can safely change the brake pads on your motorcycle.
Tips For A Smooth Brake Pad Replacement
Looking to change your motorcycle brake pads? Check out these helpful tips and step-by-step instructions to ensure a smooth and successful brake pad replacement. From removing the old pads to properly installing the new ones, this guide will walk you through the process to keep your motorcycle’s braking system in top shape.
To ensure a smooth brake pad replacement for your motorcycle, there are a few important steps to follow. First, when removing the old brake pads, it is best to open the brake fluid reservoir only when necessary. Next, clean any pins and apply copper grease to them. This will help reduce friction and ensure smooth movement. When installing the new brake pads, make sure the friction material faces the disc and there is enough space for proper alignment. Double-check that the pads are fully retracted and then slot the caliper and pads over the brake disc. Line up the bolt-holes with those in the fork leg and securely tighten the bolts. Lastly, it’s crucial to properly bed in the new brake pads by gradually increasing braking force over a period of time. Regular maintenance of the brakes will help to ensure their longevity and safe operation.
Credit: www.motorcyclistonline.com
Frequently Asked Questions For How To Change Motorcycle Brake Pads
Do You Need To Bleed Brakes When Changing Pads Motorcycle?
Yes, when changing brake pads on a motorcycle, it is recommended to bleed the brakes. This ensures that any air trapped in the brake lines is eliminated, allowing for proper brake functioning and maximizing safety.
Can You Change Bike Brake Pads Yourself?
Yes, you can change bike brake pads yourself. Remove the old brake pads, clean the pins, and apply copper grease. Install the new pads, ensuring the friction material faces the disc. Double-check alignment and secure. No need to bleed the brakes unless necessary.
Regularly replace pads based on wear.
How Long Does It Take To Change Motorcycle Brake Pads?
The time it takes to change motorcycle brake pads can vary, but it typically takes about 1-2 hours. It involves removing the old brake pads, cleaning the brake caliper, installing the new pads, and ensuring proper alignment. It’s important to follow a step-by-step guide or consult a professional for the specific instructions of your motorcycle model.
How Often Should I Change My Motorcycle Brake Pads?
It is recommended to change your motorcycle brake pads when there is a significant amount of material worn off, or before they wear out completely. Replace the pads by removing the bolts holding them in place, cleaning any pins, applying copper grease, and installing the new pads, ensuring the friction material faces the disc.
It is also important to double-check that the pads are fully retracted and properly aligned with the brake disc.
Conclusion
To change motorcycle brake pads, it is important to follow a few simple steps. Start by removing the brake pads using the appropriate tools. Clean any pins and apply copper grease before placing the new pads in and replacing the clips or pins.
Ensure that the friction material on the pads is facing the disc and that there is enough space. Double-check that the pads are fully retracted before reattaching the caliper to the fork leg. It’s important to note that brake pads should be replaced regularly according to the manufacturer’s recommendations.
By following these steps, you can ensure your motorcycle’s braking system is in top condition and enjoy a safe and smooth ride.