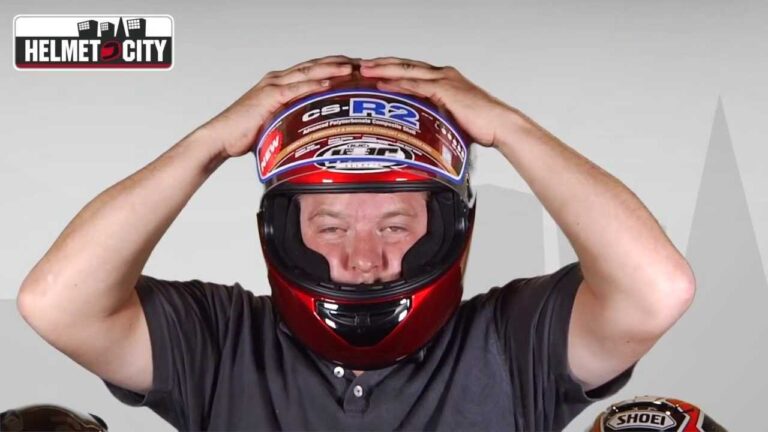
How to Paint a Motorcycle Helmet
To paint a motorcycle helmet, first sand the surface with wet sandpaper for better paint adhesion. Then, apply a base coat followed by your desired colors and designs.
Finally, seal the paint with a clear coat of Urethane for a glossy finish.
Preparing The Helmet For Painting
When it comes to painting a motorcycle helmet, it is important to properly prepare the surface for better paint adhesion. One of the first steps is sanding the surface using wet sandpaper. This will help the paint adhere more easily and give you a smoother finish. Additionally, you should cover safety stickers and trim using painter’s tape. This will protect them from the paint and ensure they are still visible after painting. Another important step is using cardboard covers in the head hole and the visor area. This will prevent any paint from getting inside these areas and potentially affecting the functionality of the helmet. Taking these precautions and properly preparing the helmet will result in a professional-looking paint job.
Choosing The Right Paint And Supplies
When it comes to painting a motorcycle helmet, it is important to select the appropriate type of paint for the job. Acrylic enamel paint or urethane paint are commonly used options that provide durability and a glossy finish. Before painting, make sure to gather all the necessary supplies such as spray paint, brushes, sandpaper, and a clear coat of urethane to seal in the paint.
It is recommended to use wet sandpaper to create a rough surface on the helmet that will help the paint adhere better. This step can be skipped, but it may result in a less durable finish. When painting, start from the top of the helmet and move towards the bottom in a sweeping motion to ensure even coverage. After the paint has dried, apply a clear coat of urethane to give the helmet a glossy look.
Painting The Helmet
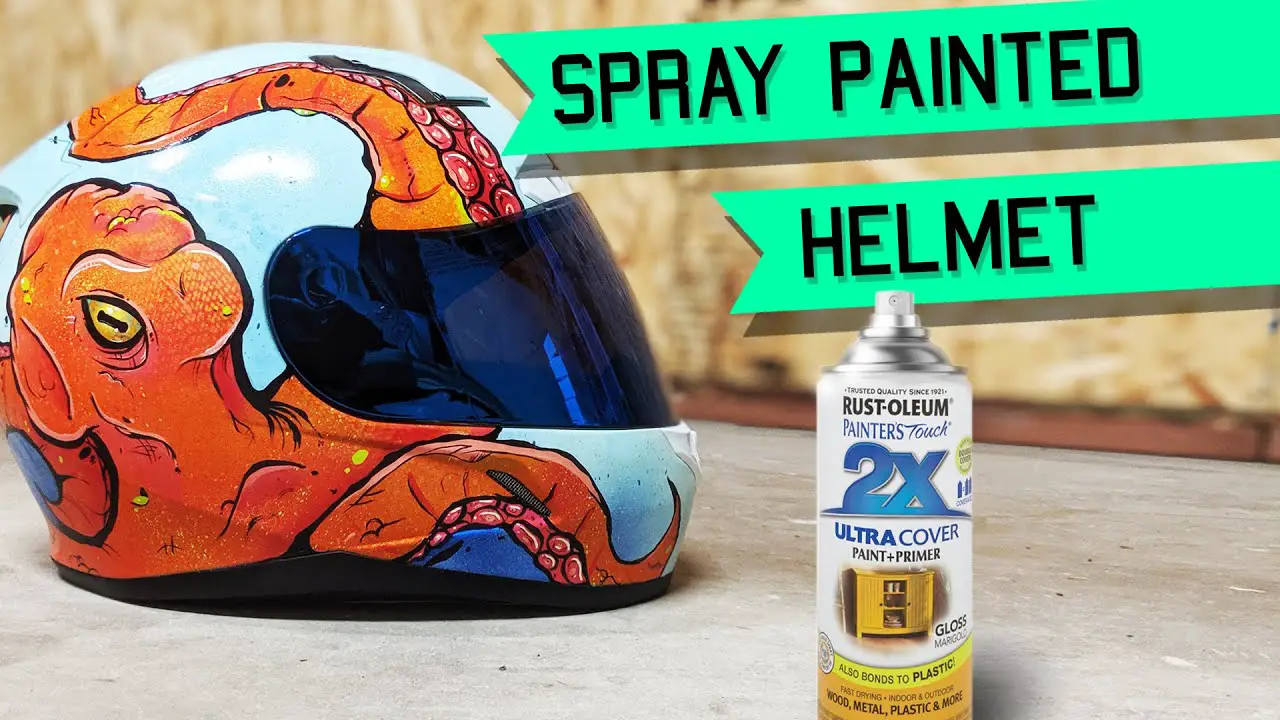
- Step-by-step guide for spray painting a motorcycle helmet: Start by sanding the surface of the helmet to ensure better paint adhesion. Next, clean the helmet thoroughly to remove any dirt or grease. Once the helmet is clean, use painter’s tape to cover any areas that you do not want to be painted. Choose a high-quality spray paint designed for use on helmets and apply thin layers, allowing each layer to dry before applying the next. Finally, seal the paint with a clear coat of urethane to give the helmet a glossy finish.
- Techniques for achieving a professional and flawless finish: Use light and even strokes while spraying the paint to avoid drips and uneven application. Take your time and apply thin layers, building up the color gradually for a smoother finish. Additionally, ensure that the helmet is completely dry before reassembling any parts or putting on decals.
- Tips for customizing the design and adding a personal touch: Before painting, plan out your design and gather any stencils or reference images you may need. Experiment with colors and patterns to create a unique look. You can also add decals or use masking techniques to create intricate designs. Remember to let your creativity shine and make the helmet truly your own.

Credit: www.maxdubler.com
Sealing The Paint And Finishing Touches
| Sealing the Paint and Finishing Touches |
| Applying a clear coat of Urethane for a glossy look |
| Final touches and details to enhance the painted helmet |
| Curing and drying time for the painted helmet |
Once the paint has dried on your motorcycle helmet, it’s important to seal it in with a clear coat of Urethane. This will give your helmet that glossy look that many riders crave. The clear coat acts as a protective layer, preventing the paint from fading or peeling off over time. Make sure to apply the clear coat evenly and in thin layers, allowing each layer to dry before applying the next. This will ensure a smooth and glossy finish.
After sealing the paint, you can add final touches and details to enhance the overall look of your painted helmet. This can include adding decals, stickers, or even hand-painted designs. Be creative and personalize your helmet to your liking. Just remember to let each layer dry completely before adding the next, and take your time to ensure a professional-looking result.
Finally, after completing all the painting and finishing touches, allow your helmet to cure and dry according to the manufacturer’s instructions. This is important to ensure that the paint fully adheres to the surface and that the helmet is safe to use. Be patient during this process, as rushing it could negatively affect the appearance and durability of the paint job.
Faqs On Motorcycle Helmet Painting
When it comes to painting a motorcycle helmet, it is important to use paint that is specifically designed for this purpose. Automotive-grade paints, such as acrylic enamel or urethane, are commonly used for helmet painting. These paints provide durability and a professional finish. It is recommended to choose a paint that is compatible with the helmet material and offers UV protection to prevent fading.
The cost of painting a motorcycle helmet can vary depending on several factors, including the complexity of the design, the type of paint used, and the skill of the painter. On average, a basic helmet paint job can cost anywhere from $100 to $300. However, more intricate designs or custom artwork may cost significantly more.
Yes, it is possible to paint a matte black helmet. However, it is important to note that painting over a matte finish can alter the original texture and may result in a glossy or satin finish. To ensure the best results, it is recommended to sand the helmet lightly and apply a suitable primer before painting. Additionally, using a matte or satin finish paint will help maintain the desired texture.
When looking for unique motorcycle helmet painting ideas, there are several sources to explore. Browse online platforms such as Pinterest, Instagram, or motorcycle forums for inspiration. Some professional helmet painters offer design galleries on their websites or social media profiles, which can provide ideas for custom artwork. Additionally, visiting local motorcycle events or shops that specialize in helmets may offer unique designs to spark creativity.
Yes, there are professional services available for motorcycle helmet painting. Many custom painters specialize in helmet artwork and offer a variety of design options. These professionals have the skills and equipment to create intricate and high-quality finishes. It is recommended to research and choose a reputable painter who can bring your vision to life.
When preparing a helmet for painting, it is essential to have the right tools and equipment. The following items are commonly needed:
- Wet sandpaper for surface preparation
- Masking tape or painter’s tape to cover areas that should not be painted
- Cardboard or plastic covers to protect the inside of the helmet
- Primer for better paint adherence
- Spray gun or airbrush for applying paint
- A well-ventilated area or paint booth for safety
- Clear coat or varnish for a glossy finish and protection
- Buffing and polishing tools for final touches
Frequently Asked Questions For How To Paint A Motorcycle Helmet
What Kind Of Paint Do You Use On A Motorcycle Helmet?
Use paint specifically designed for helmets, such as acrylic enamel or urethane-based paint. Make sure to sand the surface before painting and apply a clear coat for a glossy finish. Cover safety stickers and trim with painter’s tape and use cardboard covers.
How Much Does It Cost To Paint A Helmet?
The cost of painting a helmet can vary depending on factors such as the design complexity and the paint materials used. However, on average, it can cost anywhere from $100 to $300.
How Do You Paint A Matte Black Helmet?
To paint a matte black helmet, start by using wet sandpaper to create a rough surface for better paint adhesion. Next, apply a few even coats of matte black spray paint, starting from the top and moving towards the bottom in a sweeping motion.
Let the paint dry completely. Finally, seal the paint with a clear coat of Urethane for a glossy finish.
How To Paint A Motorcycle Helmet Like A Pro?
To paint a motorcycle helmet like a pro, you’ll need to follow a step-by-step process. Start by sanding the surface, then apply a primer and base coat. Next, create your design using stencils or freehand painting. Finally, seal the paint with a clear coat for a glossy finish.
Conclusion
Painting a motorcycle helmet can be a fun and creative way to customize your gear. By following the proper steps and using the right materials, you can achieve a professional-looking finish. Start by sanding the helmet to ensure the paint adheres well, then apply several coats of paint using a spray can or airbrush.
Once the paint is dry, seal it with a clear coat for a glossy finish. Remember to always follow safety precautions and work in a well-ventilated area. With a little time and patience, you can transform your plain helmet into a unique and eye-catching accessory.