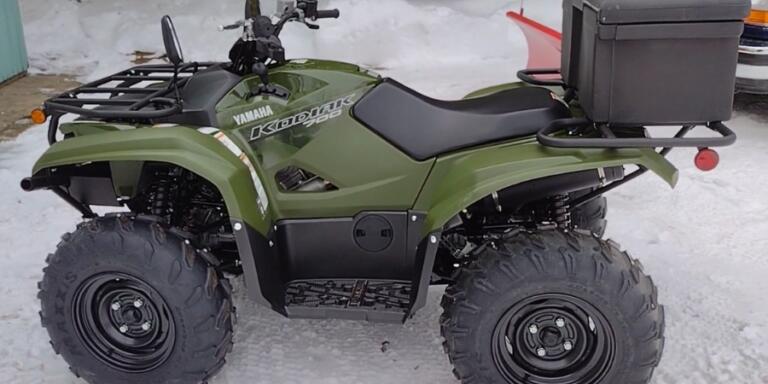
How to Paint ATV Plastics: Step by step Guide 2023
If you enjoy driving, you’ve probably heard of the idea of ATV plastics. These polymers have been specifically created to protect you and your motorcycle from the mud and rocks you will inevitably encounter while riding.
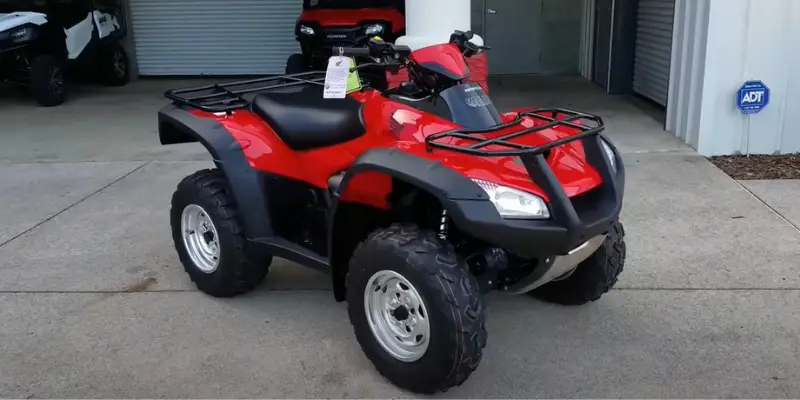
Nonetheless, you can DIY and paint the ATV plastic if you want to change its appearance.
Painting the existing plastics is cheaper and more satisfying than buying new ATV plastics if you want to change the appearance of your ATV without having to pay the money to purchase all new ATV plastic body parts. How can you paint yours?
Vital Tips
Ensure your plastics are in good shape and that you are familiar with painting ATV plastics before you start. It’s not as challenging as it may sound to paint ATV plastics. It is straightforward if you know your way around it and how to proceed.
Always remember that the most crucial step is gathering all the tools you need in advance. If you are unprepared, it can take a long time, and you might not enjoy it. Your ATV must then be prepared for painting after that.
In order to paint ATV plastics, you will need to clean the ATV plastics, sandpaper them down, and then remove particles from the plastic that can hinder paint from sticking.
Following that, you should protect and seal the paint job using a topcoat, paint, and primer. Below, I will go into further detail and provide a systematic guide on how to paint ATV plastics.
Step-By-Step Guide on How to Paint ATV Plastics
Painting ATV plastic will be as simple as possible as long as you know what to do and how to handle it. But it is necessary to have all the equipment and tools before you paint the ATV plastics.
You would need a plethora of tools, including:
- Sandpaper
- Plastic cleaners
- A scuff pad
- A primer
- Adhesive
- A bumper sealer
- Finishing glaze
- The paint
Giving the ATV a thorough cleaning should be your first step before painting the plastic.
Use warm and soapy water to thoroughly clean the plastic. This is simply to clean the plastic of any dust and dirt. Let’s move on to completing each of the following steps.
1. Use 180 Grit Sandpaper for thorough Surface Cleaning
The first step in painting a surface is properly cleaning it to remove any dust that can affect the paint coat. Use 180 grit sandpaper on the entire surface that will be painted when you are done with that.
For a very long period, these ATV plastics were exposed to the sun’s rays and the wind, which caused them to externally develop a crust or thin layer.
You can remove this undesired crust by sanding, allowing you to proceed to the next stage. Don’t be soft since you need to get rid of everything.
2. Remove Particles that are Water Soluble
After you have finished sanding, clean the ATV plastic surface area that will be painted of any water-soluble impurities. Use a scuff pad and your preferred solution to accomplish this. This step is useful for removing any pollutants that may have gotten within the plastic during the previous stage.
We cannot stress enough how important it is to have a clean surface; otherwise, the paint will either not clear up or lose its gloss and texture. Pay close attention to these first few actions if you want your efforts to be noticed.
Being a little more watchful or taking some precautionary measures never hurts. If you have missed any areas the first time, you can go over them with 180 grit sandpaper one more. Even though doing this is optional, it is ideal if you do.
3. Sandblast the ATV Plastic
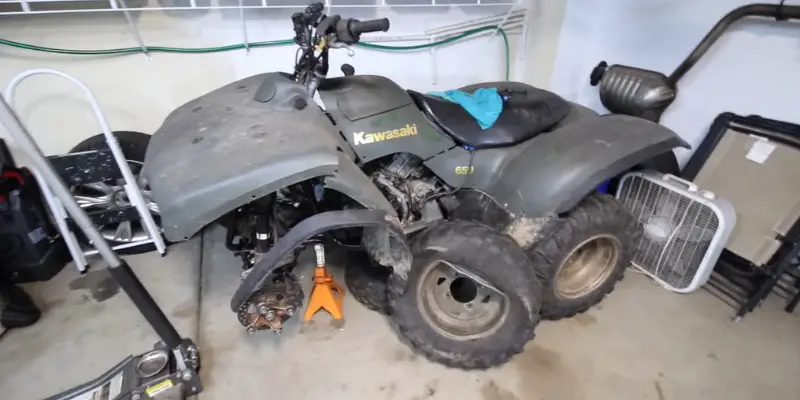
Once the rigorous cleaning is done, you can move on to the next crucial step. Sandblast the ATV plastic, and use 80-grit aluminum oxide to cover the surface you want to paint.
You will undoubtedly be one step closer to applying paint after using sand, which is a trustworthy cleaner. However, keep holding your horses longer as we still have some cleaning to complete.
4. Final cleaning process
To complete the cleaning process, use a plastic cleaner. Your marketing research can help you choose the brand name. They come in spray form and are quite simple to use.
Simply spray a thick coat and wait for the solvents to completely dissolve all contaminants.
Give it 20 minutes to complete its duty before using a clean paper towel to wipe the coat off.
5. Apply Primer and Adhesive
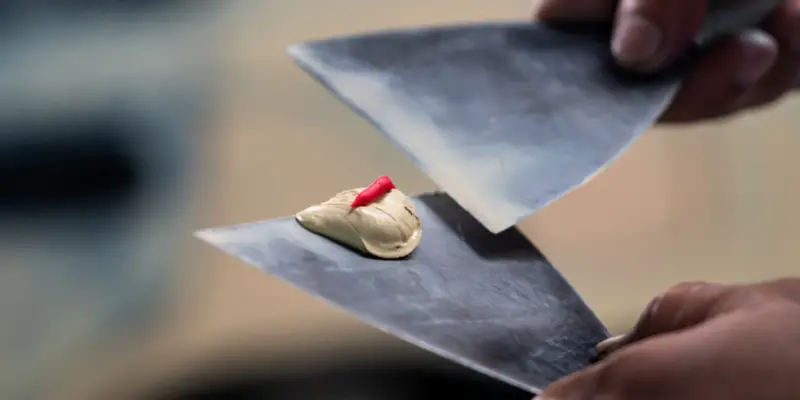
Now you must externally coat the plastic with two thick coatings of any type of industry-level adhesives. Never double-coat without first allowing the first layer to flake off.
Ensure the industry-level adhesive has dried sufficiently before moving on to the next step.
6. Sand the ATV Plastic Surface again
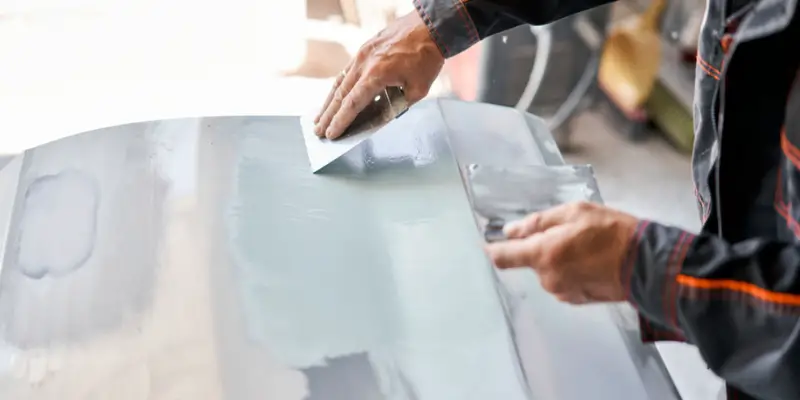
If you want that flawless coating, you’ll need to put in extra effort because you’ll need to use a high-build priming surfacer.
Simply put, you must sand the entire surface until it is completely smooth. To make the biggest impact, use 320-grit paper.
7. Use of a finishing glaze
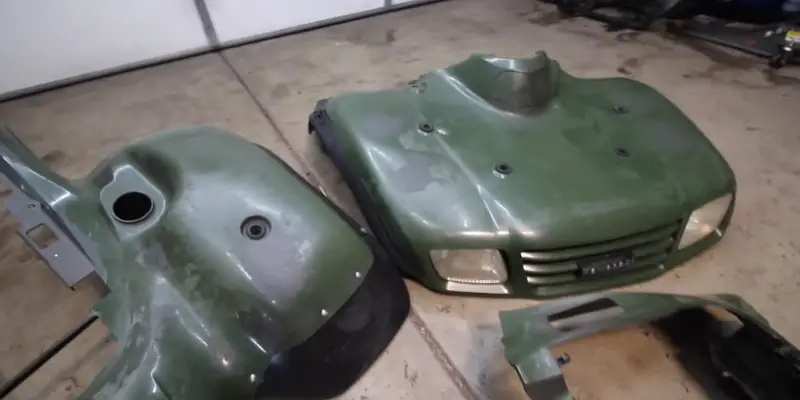
It is now time to cover up any defects that may have already existed or that our thorough cleaning may have resulted in. Cover these areas using the best finishing glaze you can find. If you want a smooth flow, look for one with a smaller thickness.
8. Sand again for the last time
Allow the finishing polish to dry completely before using sandpaper to level the surface. Even the tiniest undulations will be visible after painting. In that case, sand it well.
9. Apply a bumper sealant
It’s time for one last thing before you pick up a paintbrush. Apply a waterborne bumper sealant that can withstand freezing to the area that will soon be painted.
10. Paint the ATV plastic
Before starting to apply the paint, let the sealer dry completely.
Remember to double-layer it; a clear layer and a basecoat are sufficient. On the overcoat, use a flex additive. Flex additives aid in improving the bond between paint and plastic surfaces.
Right now, your ATV plastic is all painted and ready to use! Even if there may be numerous steps, it will all be worthwhile in the end.
Wrap-up
Not only will painting your ATV plastics make them look beautiful, but it will also ensure that they last for a very long time.
To properly complete your project, you must do the steps required, such as scraping off any old paint and selecting the proper primer and clear enamel.
We hope you found this article useful and wish you the best of success in all of your painting projects.

