How to Wire a Winch with a Toggle Switch
Most winches are designed for intermittent use. They are not built for continuous running, which can lead to overheating and failure. You can prevent this by wiring your winch with a toggle switch.
A toggle switch allows you to operate the winch without it running continuously.
This helps extend the life of your winch and protects it from overheating. Compared to rocker switches, they are less expensive and consume less power.
However, how precisely do you mount a winch toggle switch in your car?
This step-by-step guide will outline the most straightforward procedures to wire the winch with a toggle switch in your vehicle for remote operation because hiring a technician to do it for you might be a bit pricey.
Installing a Winch to a Toggle Switch
When installing a toggle switch, it is essential to use a good set of wire strippers or small pliers.
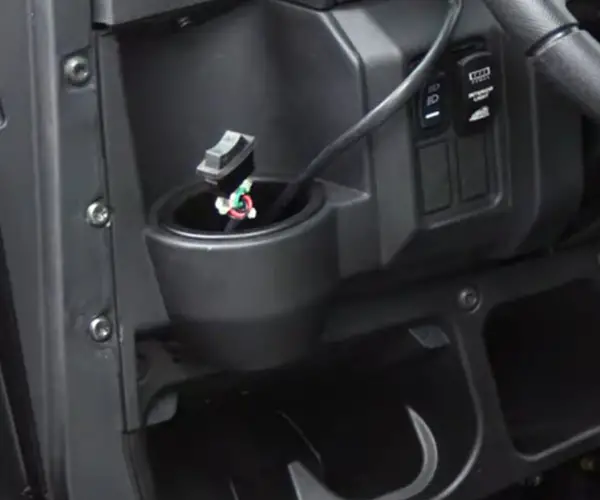
The toggle switch should be mounted in a convenient location, such as the driver’s seat or the dash, so it is easy to reach when the winch is engaged.
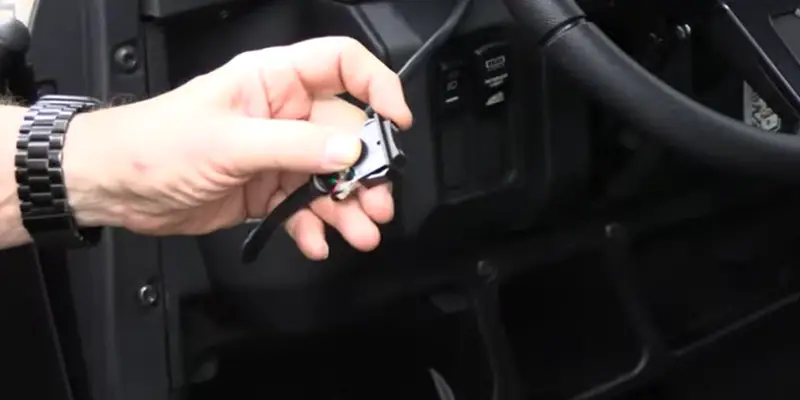
Step 1: Mount the toggle switch housing to the tube
Place the Tube Clamp in a convenient location on the handlebars, and then attach the housing for the toggle switch to the Tube Clamp.
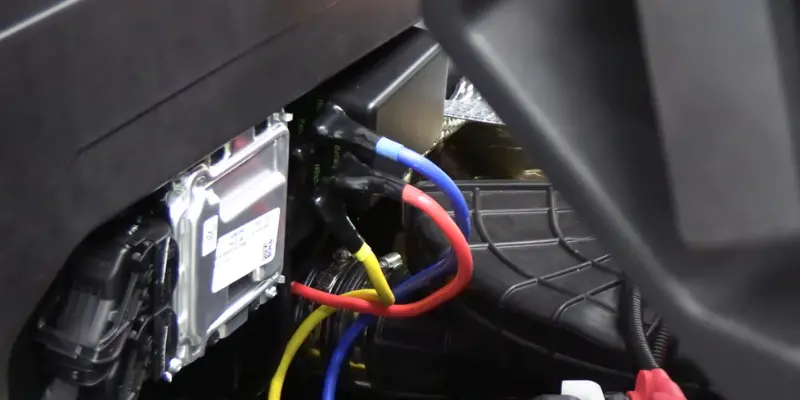
Push the three wires (green, red, and yellow) through the Toggle Switch’s back section using the cap screw, flat washer, locknut, and shake-proof washer. Install the toggle switch’s gasket right away.
Step 2: Connecting the three wires of the toggle switch
Connect the green wire to the base terminal of the toggle switch, the red wire to the middle terminal, and the yellow wire to the top terminal.
The loom should be pushed into the wires before sliding behind the switch housing. The toggle housing and the switch should now be snapped together.
Step 3: Connect the wires
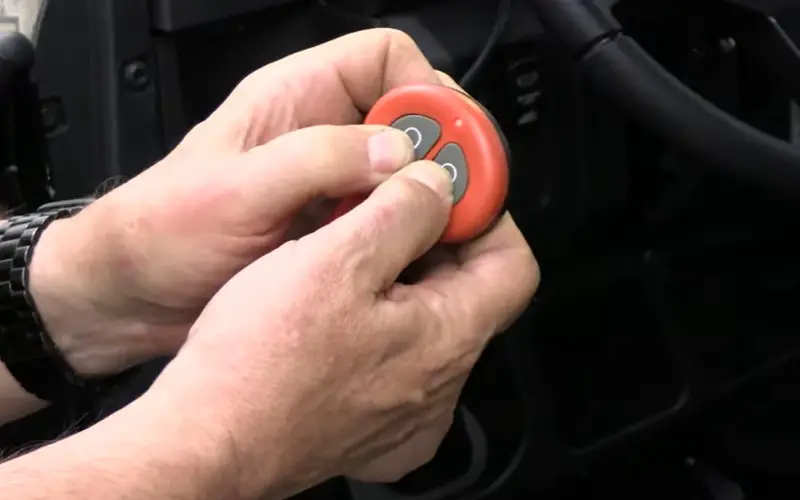
Thread the wires down the handlebars beginning with the toggle switch. Turn the switch right and left to check for adequate clearance.
Next, connect the wires to the toggle switches. Then, on the toggle switch, match them to their corresponding counterparts. Put the matched wire pairs into pliers and snap them together.
Step 4: Finish the Toggle Switch wiring
Press the toggle switch to “out” and make sure the winch clutch is not engaged. The winch shouldn’t work when the ignition is turned off.
The cable should be spooled out a few feet (with your hand) before the clutch is engaged.
The winch must spool out the cable when the toggle switch is turned on (if not, use a multimeter to check the wires’ continuity).
Last but not least, cut the wires off all the surfaces.
You can secure the wires with cable ties to prevent a tight connection from harming your car’s components.
To ensure that you’ve installed the toggle switch correctly, do the following checks:
- Turn off the ignition switch and set the toggle switch to ‘out’. The winch should not operate if the switch is installed correctly. If it does, go back and reconnect the wires correctly.
- When you engage the winch clutch and start the engine, the winch should engage when the toggle switch is set to ‘out.’ If this does not happen, double-check that your wires are correctly connected.
- Wrap off any excess wire to keep it from fraying.
Tips and Safety Precautions
When setting up your toggle switch in your car, you should consider the following safety precautions:
- You will be working with electricity so stay away from water.
- Make sure you are doing it correctly! Because if you start wiring without understanding how plugs or circuits function, you risk damaging your tools—or worse, yourself. If you’ve never worked with electricity before, watch a few videos or read some manuals to get a basic understanding.
- Turn off the ignition of the vehicle. Find the toggle switch and the red, yellow, and green wires that are attached to it.
- Confirm that the toggle switch does not operate the winch and that no power is supplied.
- Release the winch clutch.
- If necessary, open the hood or cowling to gain more accessible access to the installation area.
- Remove one of the supplied spade connectors from the yellow and green wires. Spade connectors are not required because wire splices will be used.
- A manufacturer’s installation manual should always be consulted. Always follow your manufacturer’s instructions because they will be more specific to your winch and toggle switch, as the setup may vary.
- Before you begin, you must have the proper tools. You want to avoid reaching your installation’s end only to find out that you need to include a necessary tool. Once more, being organized now will help you so much down the line.
- Stay organized. The installation will be much simpler if everything is set up orderly because you won’t have to spend hours looking for that one screw or bolt. You may need more time to set everything up, and it can be tempting to jump right in, but should you take heed to set up your workspace correctly, you’ll be so glad you did.
Final thoughts
There you have it. Your toggle switch will now help you operate your car’s winch remotely, which is one of the preferable ways to power it up.
However, other benefits are associated with using a toggle switch than a remote.
By installing a toggle switch in your car, you can operate the winch without it running continuously, which helps extend the life of your winch and protects it from overheating.
Also, you can use a toggle switch to control a winch’s motor RPM, making it an excellent fit for bikes and ATVs. You can order a toggle switch for your winch from several sources online, or from an automobile shop if preferable.
Your toggle switch can be mounted to the handlebars close to the winch’s control handle. It should operate the winch; when the switch is turned on and turn the winch off when it is turned off.